
Last updated November 20, 2026
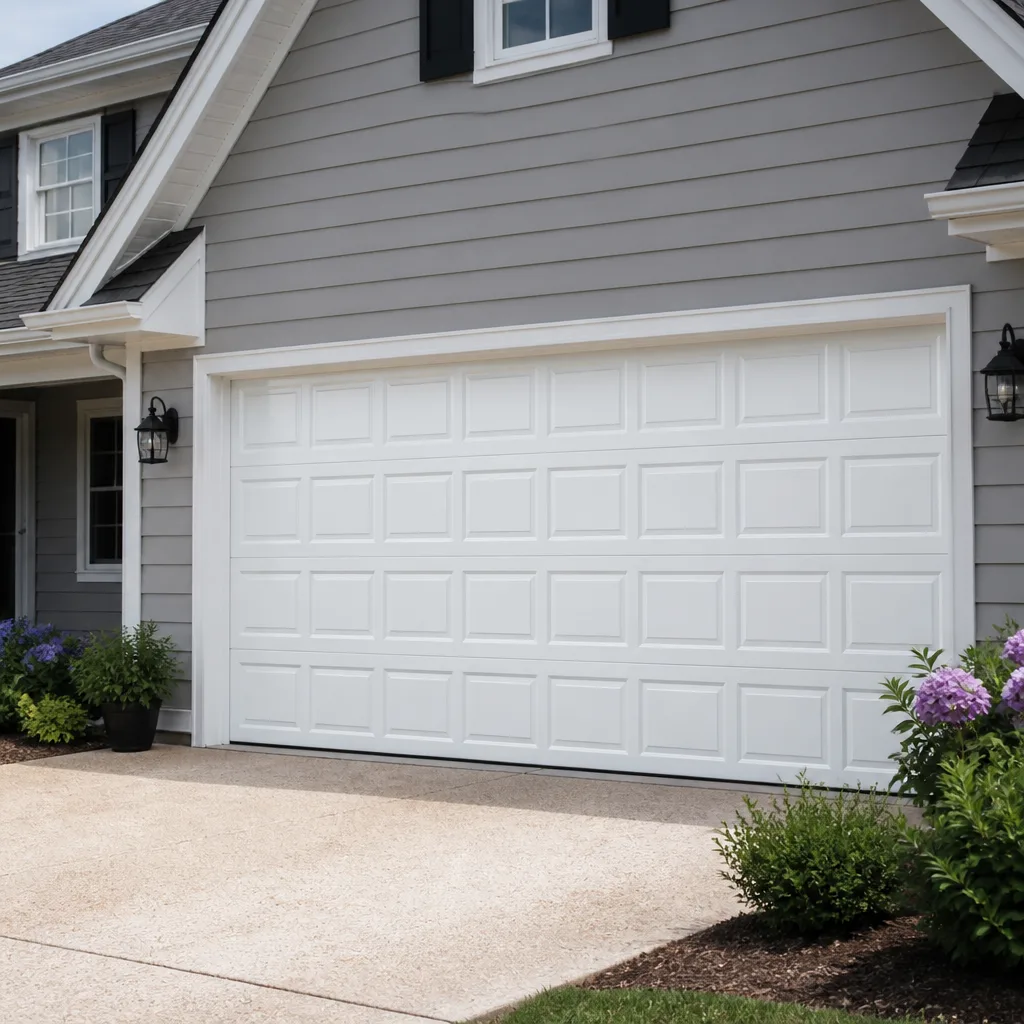 Raised-panel steel
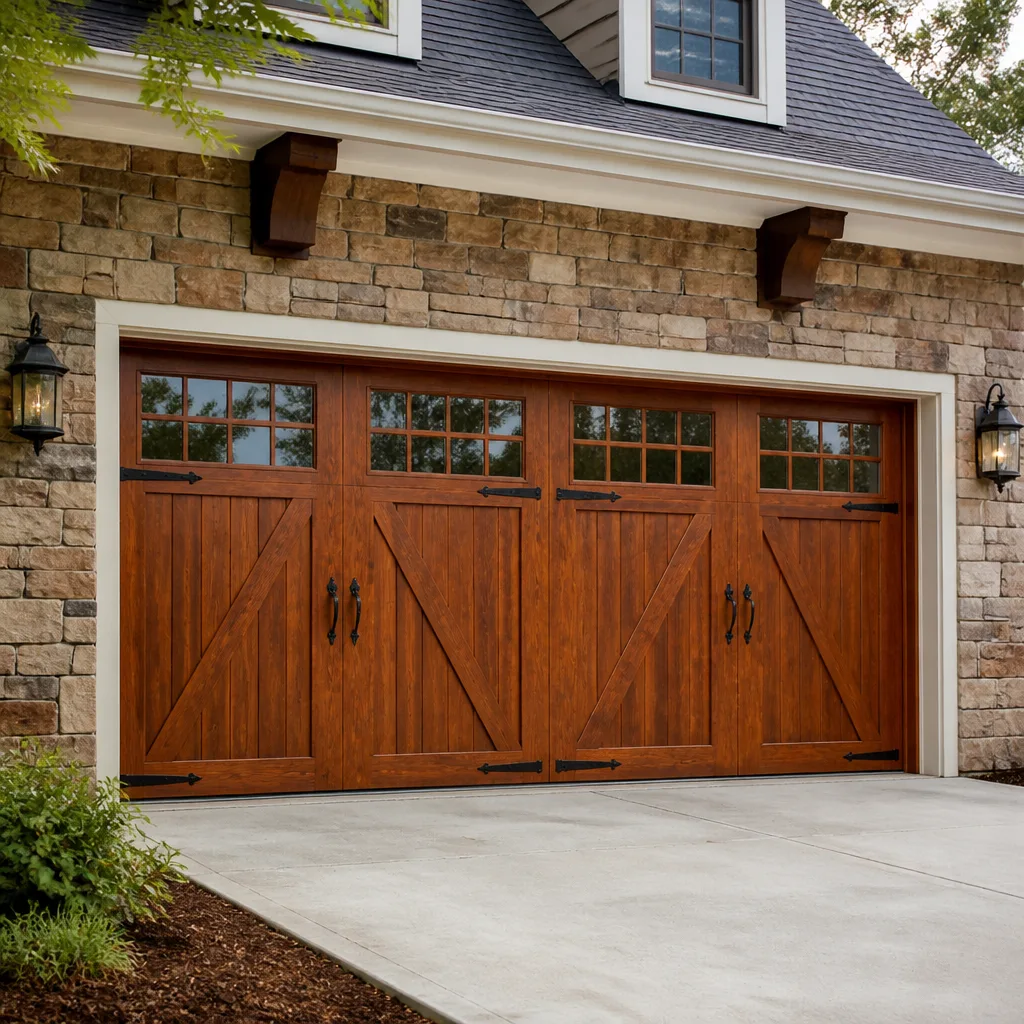 Carriage house
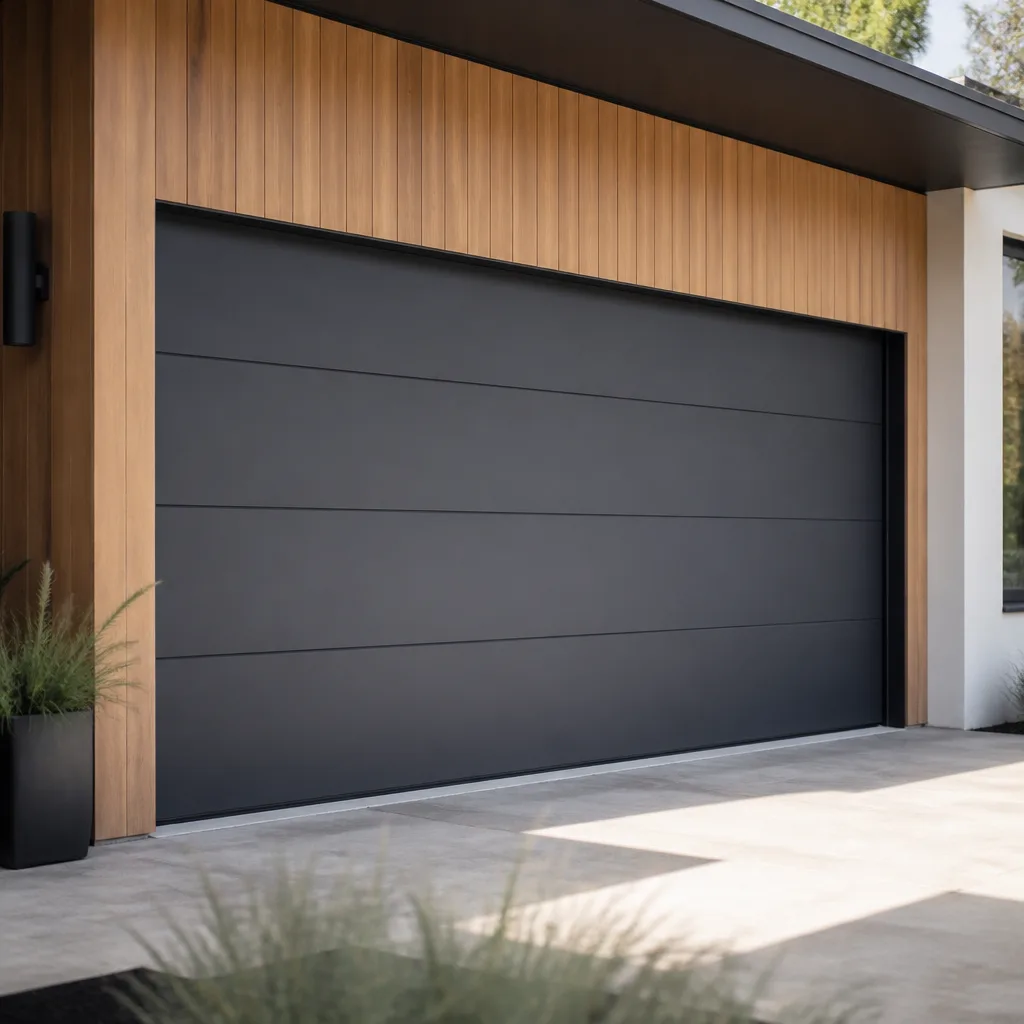 Modern flush
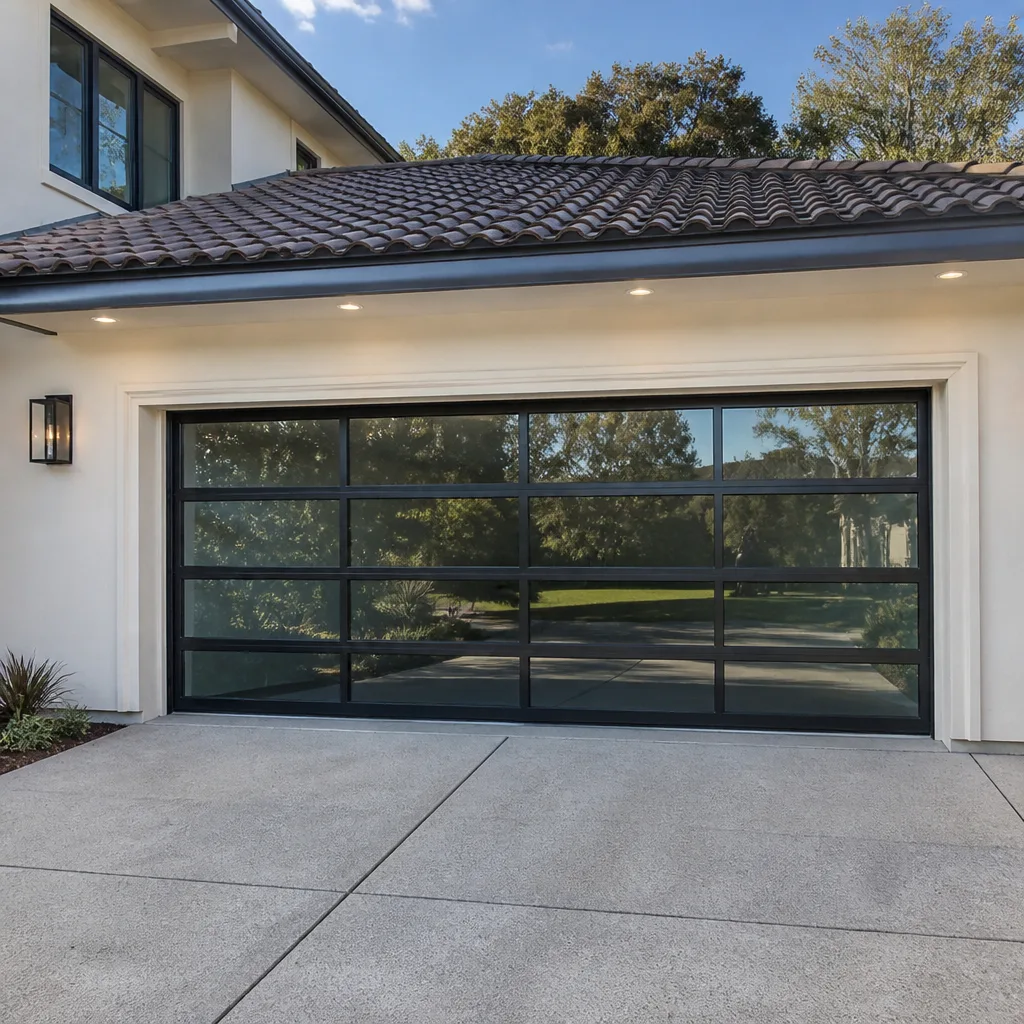 Full-view glass
 LiftMaster openers
 Chamberlain openers
Full 25-point door and opener safety check with every visit - springs, cables, rollers, tracks, and your LiftMaster or Chamberlain opener included
You get a price before we start. It does not change when the pro arrives.
Get your free estimateGarage Door Warning Signs: A College Hill Homeowner’s Reference Guide
A garage door with a broken torsion spring holds roughly 400 pounds of tension on its cables, and operating it by hand while it sits in that state is one of the most common sources of serious garage-related injury. It doesn’t look dangerous. That’s the problem. Most warning-sign advice treats every creak and speck of rust as an emergency, so homeowners either panic over normal wear or walk past a cable that’s down to its last few strands. This guide sorts the signs into three clean tiers: stop now, fix this week, and watch it. You’ll learn the 60-second inspection you can do from inside without touching a single component, plus the brand-specific symptoms that people in College Hill keep mistaking for old age.
Quick Answer
Garage door warning signs fall into three severity tiers, and the tier decides what you do next. Tier 1 means stop using the door immediately: visible cable fraying, a door off its track, a broken spring, or a door that won’t stay up at mid-travel are all hands-off, call-a-specialist situations. Tier 2 means book a visit within the week: grinding from the opener, slow reversal, a gap at the floor, or jerky movement will get worse and usually cost more if you wait. Tier 3 means note it and keep watching: small weatherstripping gaps, minor paint flaking, and a remote that’s lost range are monitoring signs, not emergencies.
Styles & brands we work with
- Raised-panel steel
- Carriage house
- Modern flush
- Full-view glass
- LiftMaster openers
- Chamberlain openers
Table of Contents
- Why Garage Door Warning Signs Need Severity Tiers
- Tier 1: Stop Using the Door Immediately
- Tier 2: Schedule Service Within the Week
- Tier 3: Note It and Monitor
- The 60-Second Visual Inspection From Inside
- Brand-Specific Symptoms Homeowners Misread
- What College Hill Weather Does to a Door
- Common Mistakes to Avoid
Why Garage Door Warning Signs Need Severity Tiers
Most garage door symptom lists are flat. A squeaky hinge and a snapped torsion spring get the same bullet point, which leaves you with no idea whether to grab a wrench or grab the phone. That flatness is why people in College Hill keep running doors that have already failed in a dangerous way while worrying about noises that are completely normal.
A better model is a ladder. The bottom rung is cosmetic, the middle rung is mechanical wear, and the top rung is structural failure with stored energy involved. The damage doesn’t travel up the ladder gradually. A door can sit on rung two for a year, then one strand lets go and it’s suddenly rung three.
Here’s the mental picture we want you to carry. A torsion spring is a wound coil of steel holding enough force to lift a door that weighs well over a hundred pounds. Cables and springs work together as a counterweight system, and once either side weakens, the door stops being a machine you can safely operate. Extension springs, common on older doors around College Hill, carry the same risk in a different layout.
So the tiers below aren’t just a triage tool. They tell you where to put your attention and where to put your hands. Tier 1 signs mean keep your hands in your pockets and call. Tier 2 signs mean you can still use the door while you book a visit. Tier 3 signs are for your calendar and your next routine service.
That distinction matters for another reason. Panicking over a normal symptom often leads to a rushed DIY fix, and a rushed DIY fix on a garage door is how a small problem becomes an injury. The right response to almost every sign on this page is to observe, write it down, and let a trained technician handle anything involving springs or cables. Our technicians have up to 14 years of experience reading exactly these symptoms, and we’ve learned the difference between a door that’s tired and a door that’s about to let go.
Tier 1: Stop Using the Door Immediately
These are the signs that mean the door is no longer safe to operate, and you should leave it where it is and call for help. Do not try to lift it by hand, do not try to force it down, and do not pull the manual release on an opener to “see what happens.”
- Visible cable fraying. Look at the steel cables that run vertically down each side. If you see broken strands, a fuzzy or bird-caged look, or a cable that’s come off a drum, the counterweight system has failed. A frayed cable can snap without warning, and it does so under load.
- The door is off its track. A single roller out of the track, or a bent section of vertical or horizontal track, means the door is no longer guided. Running the opener will chew up panels and could bring the door down unevenly.
- A broken spring. A torsion spring that’s snapped usually shows a clean gap in the coil. You may have heard a loud bang from the garage. The door will feel extremely heavy, and the opener may not lift it at all. This is a stop-now sign, full stop.
- The door won’t stay up at mid-travel. If you lift the door halfway and it slams down or drifts down on its own, the springs are no longer balancing the door’s weight. That’s a stored-energy failure, and it means the door is being held by the opener alone, which it was never designed to do.
Two of those four signs involve springs and cables, and that’s not a coincidence. Springs are the most dangerous part of a garage door because they hold tension even when the door is closed and the power is off. There’s no safe way to work around that energy without the right winding bars, the right technique, and a healthy respect for what happens if a spring lets go mid-procedure. If you see any Tier 1 sign, call us and describe what you’re seeing. If the door is stuck and you can’t move it, our Garage Door Repair College Hill service handles emergency calls, with fast dispatch from 7am to 7pm, Sunday through Friday.
Tier 2: Schedule Service Within the Week
These signs won’t hurt anyone today, but they’re telling you something is wearing out, and the fix is usually cheaper and simpler before the wear turns into a failure. Book a visit within the week rather than waiting for the noise to become a breakdown.
- Grinding from the opener. A rhythmic grinding sound usually points to a worn gear or a failing bearing inside the opener housing. It’s not the door; it’s the motor. Catching it early is often a repair, while ignoring it tends to mean a replacement.
- Slow reversal response. If the door takes a moment to reverse when it meets an obstruction, or reverses on its own for no reason, the safety system is drifting out of adjustment. That’s a safety issue, not just an annoyance.
- Uneven gap at the floor. A visible gap under one corner means the door isn’t sitting level. It could be a bent panel, a worn hinge, or a track that’s shifted, and each of those gets worse with use.
- Jerky movement. A door that shudders, stutters, or jumps as it travels is fighting friction somewhere. Dry rollers, a misaligned track, or a failing torsion assembly can all cause it.
- Loud banging at the start of travel. A single hard thump when the door starts moving often means a spring is losing tension or a cable is catching. Same tier: get it looked at soon.
What does this kind of work usually cost in College Hill? A standard garage door repair visit for a single spring is typically $180 to $340. A matched pair is replaced together, so a pair costs about twice that. Opener work like a gear replacement or a sensor fix usually runs in a similar range. Those are typical estimates for the local market, and the written estimate we give you before any work starts is the number that sets the final price. We don’t begin a job until you’ve agreed to that number in writing.
Tier 3: Note It and Monitor
These signs are worth writing down, worth watching, and not worth a panic. Most of them are cosmetic or slow-moving, and the right move is to note the date you saw them and check back in a month or two.
- Minor weatherstripping gaps. A small gap at the bottom or sides lets in drafts and moisture but isn’t a safety issue. It’s a maintenance item, and it’s usually the cheapest fix on this whole list.
- Slight paint peeling on panels. Flaking paint on the bottom rail or panels is normal wear for a door that faces west through a full College Hill summer. Note it, and plan to touch it up before it spreads.
- Shortening remote range. A remote that used to work from the end of the driveway and now needs to be right next to the door is telling you the battery is fading, the antenna is blocked, or the receiver is weakening. Swap the battery first, then note it.
- A faint squeak on the hinges. Light hinge noise is normal and often resolves with proper lubrication. If it gets louder over a few weeks, move it up a tier.
- Cosmetic panel dents. Small dents that don’t affect the door’s alignment are cosmetic. Watch for any change in how the door travels; that’s what turns a cosmetic issue into a mechanical one.
Keep a simple log. A sheet of paper on the garage wall with dates and symptoms beats trying to remember whether that grinding started last month or last year. When you do book a service visit, the log gives a technician a real history to work from.
The 60-Second Visual Inspection From Inside
You can do a useful safety check in about a minute, from inside the garage, without touching any moving or loaded component. Here’s the sequence:
- Stand inside, facing the door, and look up. Find the torsion spring or springs above the door. Look for an obvious gap in the coil. A gap means a broken spring, and you stop right there.
- Follow the cables from the bottom corners up to the drums. Run your eyes, not your hands, along each cable. Look for broken strands, a frayed texture, or a cable that’s come loose from its drum.
- Check the horizontal tracks for obvious bends or rollers sitting out of the channel. A roller that’s popped out of the track is a visible gap between the roller and the track edge.
- Look at the door’s bottom seal from a few feet away. A visible gap at the floor means the door isn’t seating level, and that’s a Tier 2 note.
- Look at the opener rail and the safety sensors at the bottom corners. Sensors should face each other across the opening, and the rail should be straight, not sagging.
- Note anything you see, with the date. Then close the door and step back from the list. Anything from Tier 1 means hands off and call.
Do not reach up to test spring tension, do not try to pull a cable back onto a drum, and do not grip any component while the door is moving. This inspection is a visual scan, and that’s where it should stop. A visual scan catches most of the Tier 1 signs, and it’s the safest baseline a homeowner can have.
If the inspection turns up something, or if you’d rather have a trained eye walk the door, a free estimate visit covers exactly that. We offer free estimates in College Hill, and a technician can tell you in a few minutes which tier you’re actually in.
Brand-Specific Symptoms Homeowners Misread
Many of the door problems we see in College Hill aren’t door problems at all. They’re opener error codes that got written off as “the door’s just getting old,” and they point to a specific, fixable fault. We work on equipment from LiftMaster, Chamberlain, Genie, Clopay, Amarr, Wayne Dalton, Craftsman, and Raynor, and the codes are one of the reasons it matters which system you have.
LiftMaster and Chamberlain error codes
LiftMaster and Chamberlain openers share a lot of diagnostic logic because they share a parent company. When the opener flashes an error code, that code is the fastest path to the fault. A sensor fault, an obstruction, and a travel-limit problem each produce a different blink pattern. Homeowners often see the flashing lights and assume the motor has failed, when the actual fault is at the safety sensors or a travel limit setting.
Chamberlain sensor blink patterns
The Chamberlain sensor system reports a blocked beam, a misaligned sensor, or a sensor that’s lost power through different blink patterns, and the pattern tells a technician where to start. A sensor that’s simply aimed wrong produces the same “door won’t close” symptom as a failing control board, and they need completely different fixes. Reading the blink pattern correctly saves a wrong part and a wasted visit.
Genie fault indicators
Genie openers use a different set of indicator lights and codes, and some Genie models report a forced reversal or a limit failure through the same indicator. The pattern you see on a Genie isn’t the same as on a LiftMaster, which is exactly why the brand matters when you call. One glance at the head of the opener tells a technician which brand family they’re working with.
Legacy brands still in service
Older Craftsman and Wayne Dalton openers are still on plenty of College Hill homes, and both have their own quirks. Craftsman models from the earlier generations produce symptom patterns that don’t match anything in a modern diagnostic chart, and a Wayne Dalton door paired with a legacy opener needs a technician who knows how the two systems interact. Raynor doors, also common in the area, use their own hardware conventions. None of these are “just getting old” problems. They’re specific faults with specific fixes.
If your opener is showing any indicator at all, our garage door opener repair service can read the code, test the cause, and tell you whether the fix is a sensor, a travel limit, a gear, or a board. Most of those are a same-day repair, and the price is agreed in writing before we touch the opener.
What College Hill Weather Does to a Door
College Hill’s seasons work a garage door harder than people realize. Cold winters and warm, humid summers cycle the door’s metal, gaskets, and lubricant through expansion and contraction every year, and the effect shows up in predictable places.
- Winters. Cold stiffens lubricant and shrinks gaskets, which is why a door that ran smoothly in October can start dragging in January. The seal at the floor pushes out of shape, and the bottom gap gets wider.
- Summers. Heat and humidity soften the bottom seal, swell wood sections on older doors, and can lift a panel’s paint. The rail on a ceiling-mounted opener can sag in extreme heat, throwing the door’s travel off.
- Freeze-thaw cycles. When moisture gets into a small crack in the seal or a panel joint and then freezes, it widens the crack. That’s why a minor Tier 3 seal gap can grow into a Tier 2 problem over one winter.
- Fall and spring transitions. The swing between cool nights and warm days is when the most metal fatigue symptoms first show up. A door that’s been quiet all year often starts talking in October or April.
The practical takeaway is a seasonal check. Walk the door inside on the same date in spring and fall, use the log, and note anything that’s changed. If the winter check turns up a broken spring or a frayed cable, call and we’ll get a technician out. If it turns up a seal gap or a squeak, add it to the list for the next visit.
This is also why a new door’s installation matters in the local climate. Panels, tracks, springs, and seal systems need to be specified for a door that sees real winter, and a proper install is measured on-site rather than ordered over the phone. For new-door projects, our garage door installation service starts with a free measure and a written price, and the work is scheduled after the measurement. There’s no same-day promise on installation, because the door has to be measured and ordered first.
Keeping Wear From Becoming Failure
Most of the Tier 1 failures we see begin as Tier 2 symptoms that sat for a few weeks. Grinding gears become stripped gears. A jerky door works its rollers loose. An out-of-level door bends a panel. The reason we push the tiers so hard is that the ladder is usually driven by time, and time is the cheapest tool a homeowner has.
A door that’s regularly lubricated, has its bottom seal replaced when it starts to fail, and gets a visual scan once a season spends most of its life on the bottom rungs. A door that gets ignored tends to skip straight from “small noise” to “broken spring.” Keeping a simple maintenance rhythm doesn’t cost much, and it’s the single best way to avoid a call on a morning when your car is parked inside and the door won’t move.
If you’re unsure where your door sits on the ladder, that’s a reasonable thing to ask a technician rather than guess. A free estimate visit includes a full inspection and a written run-through of what’s a maintenance item, what’s a repair, and what can wait. You get the answer before you commit to any work.
Common Mistakes to Avoid
- Pulling the manual release on a broken spring. The release is designed for a door whose springs still work. On a door with a broken spring, pulling the release drops a hundred-plus pounds of door in an instant. Leave it alone and call.
- Treating a frayed cable as a “watch and see” item. A cable with broken strands is already in Tier 1, not Tier 3. Once strands break, the remaining cable carries more load, and failure can happen without warning. Anything cable-related should be looked at now, not next month.
- Ignoring a brand error code because the door still closes. The door may still close while the code says a sensor is failing or a gear is stripping. That’s the window where the repair is a gear or a sensor instead of an opener replacement. Read the code or have it read.
- Forcing a door that’s off its track back into place. A door off the track needs a technician to realign the tracks and check the rollers. Forcing it usually bends a panel and turns a track repair into a panel replacement.
- Assuming a gap at the floor is just a seal problem. Sometimes it is, and sometimes it’s a hinge or a bent panel. Replacing the seal over a bent panel wastes the seal and leaves the real problem.
- Spraying lubricant on a grinding opener. Grinding from inside the opener housing means a worn gear or bearing, and lubricant can’t reach those parts. It’s a Tier 2 repair, and the noise will get worse until it’s fixed.
- Skipping the seasonal check because the door “seems fine.” A door that seems fine to a glance can have a small gap, a worn seal, or an early cable fray that only a careful look catches. A minute twice a year is the cheapest insurance your garage door has.
See the difference
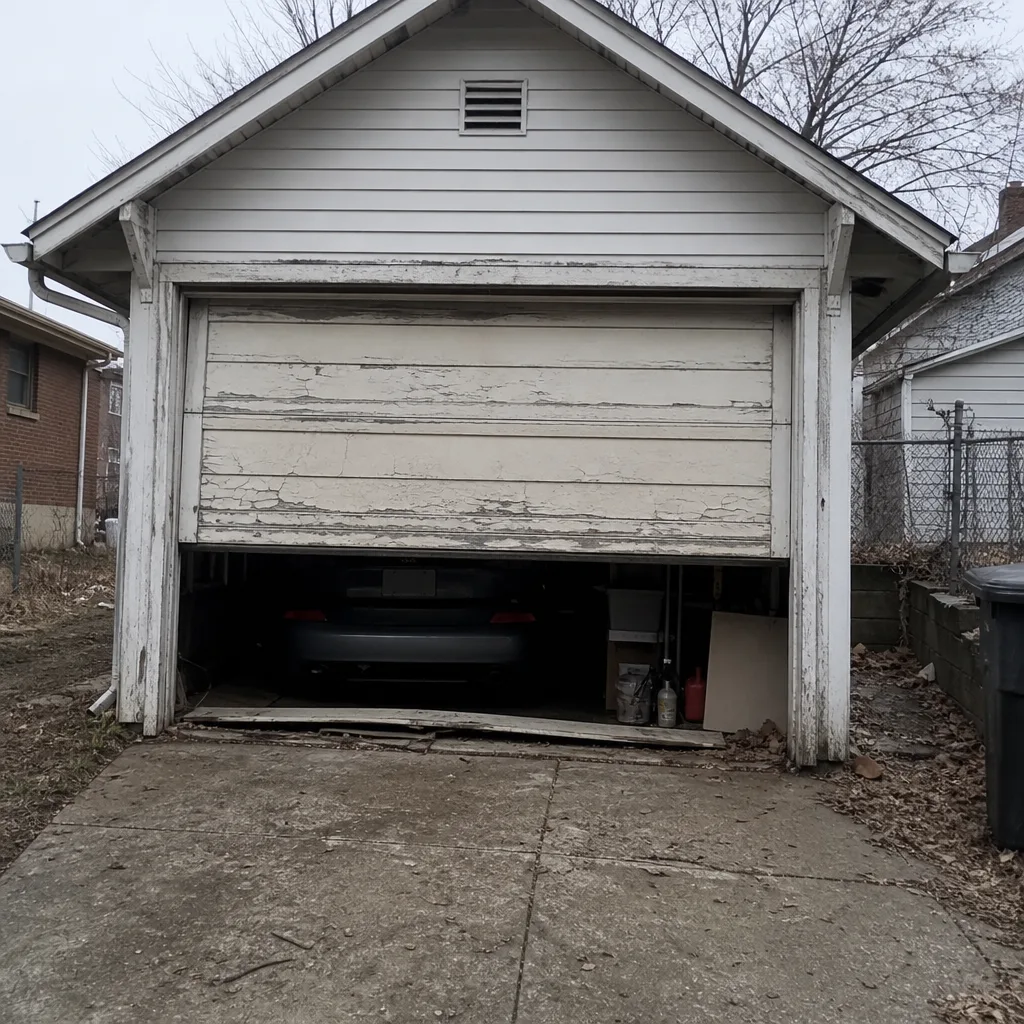 Before
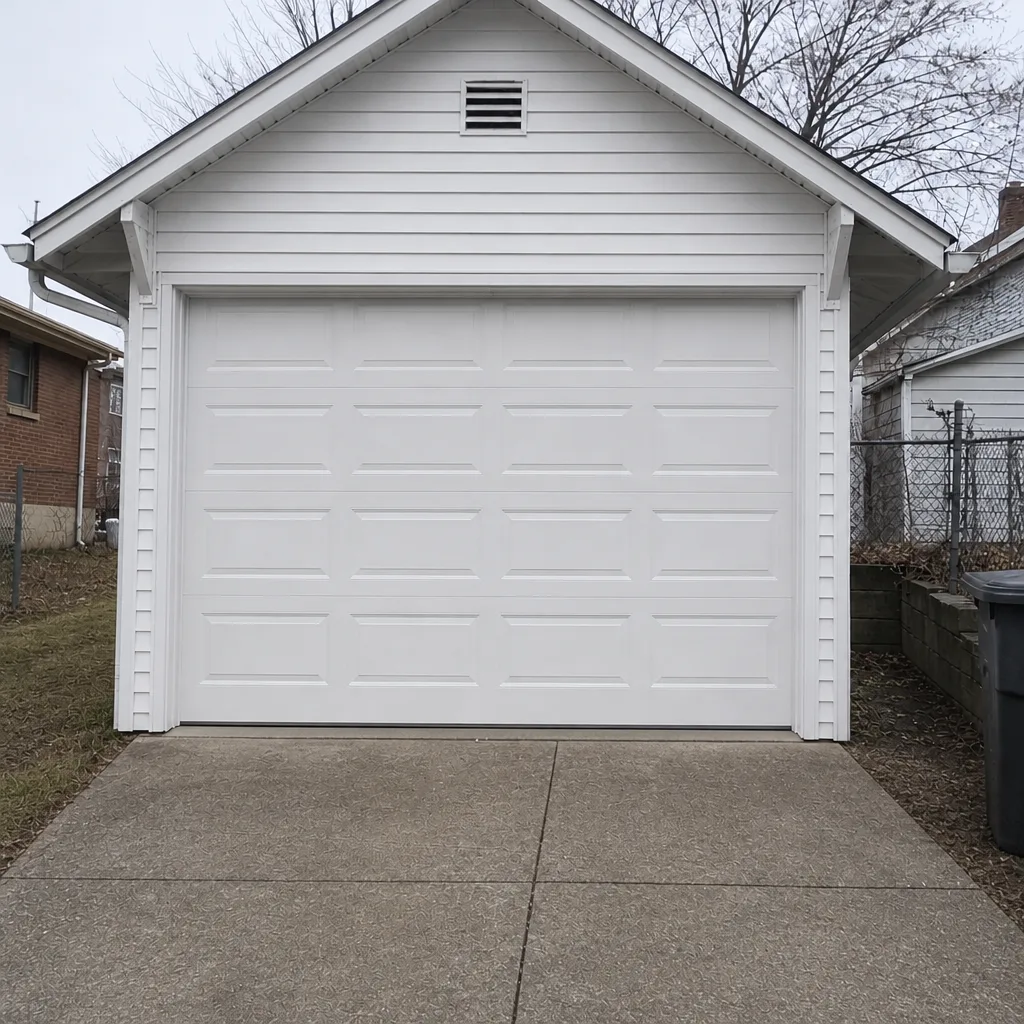 After
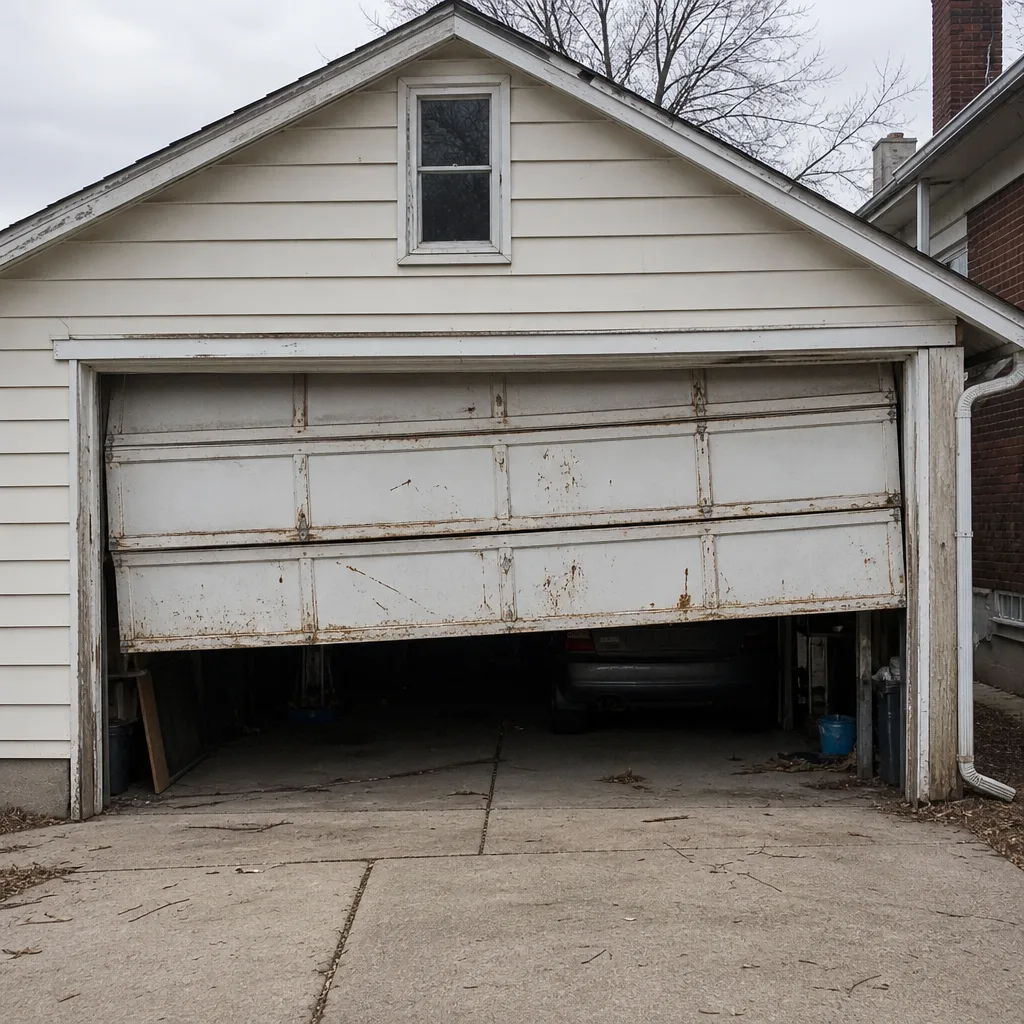 Before
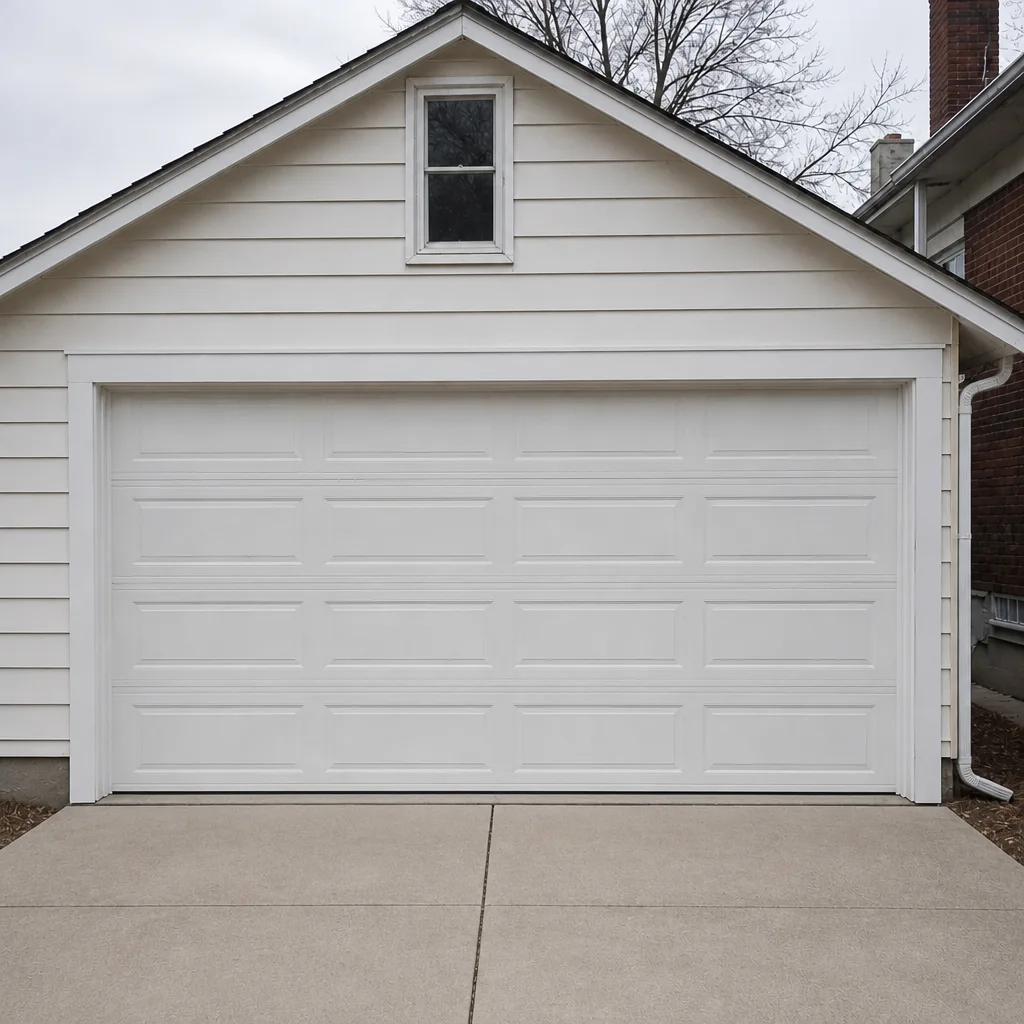 After
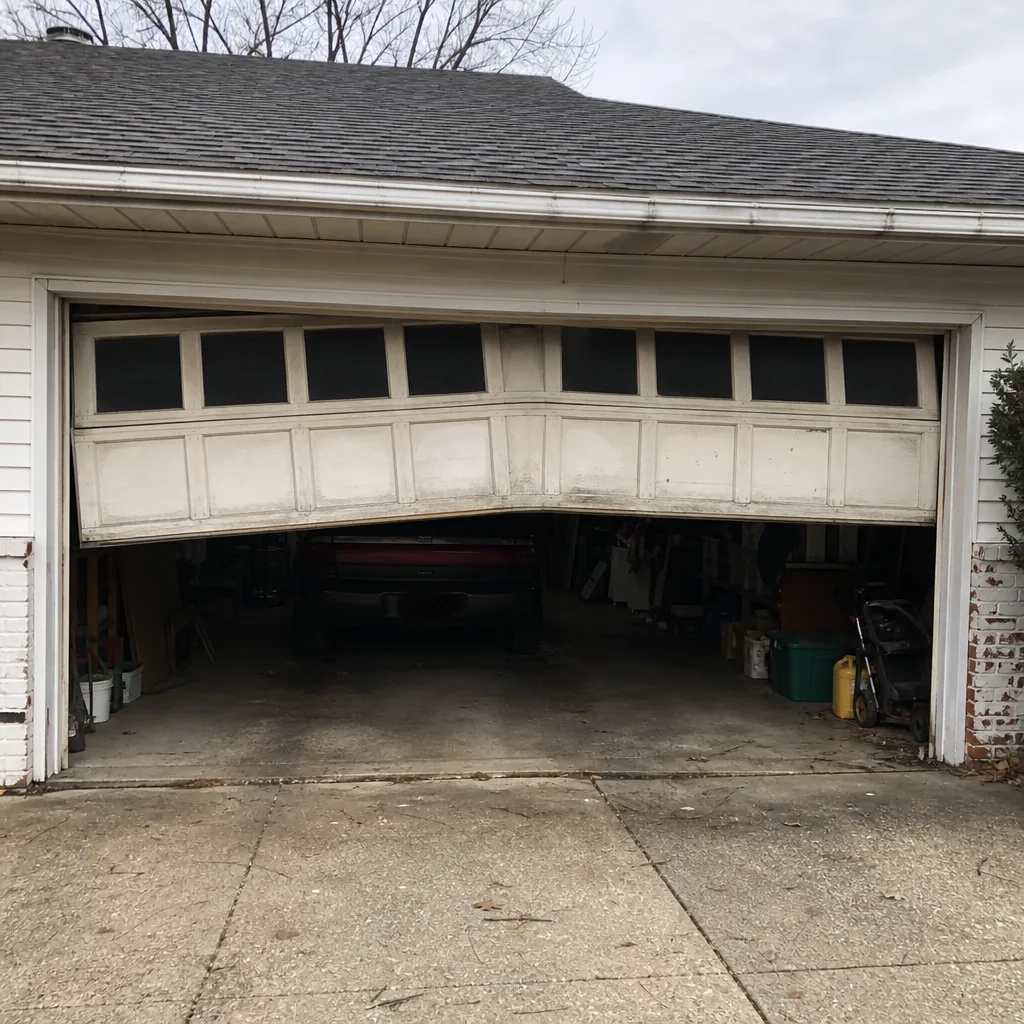 Before
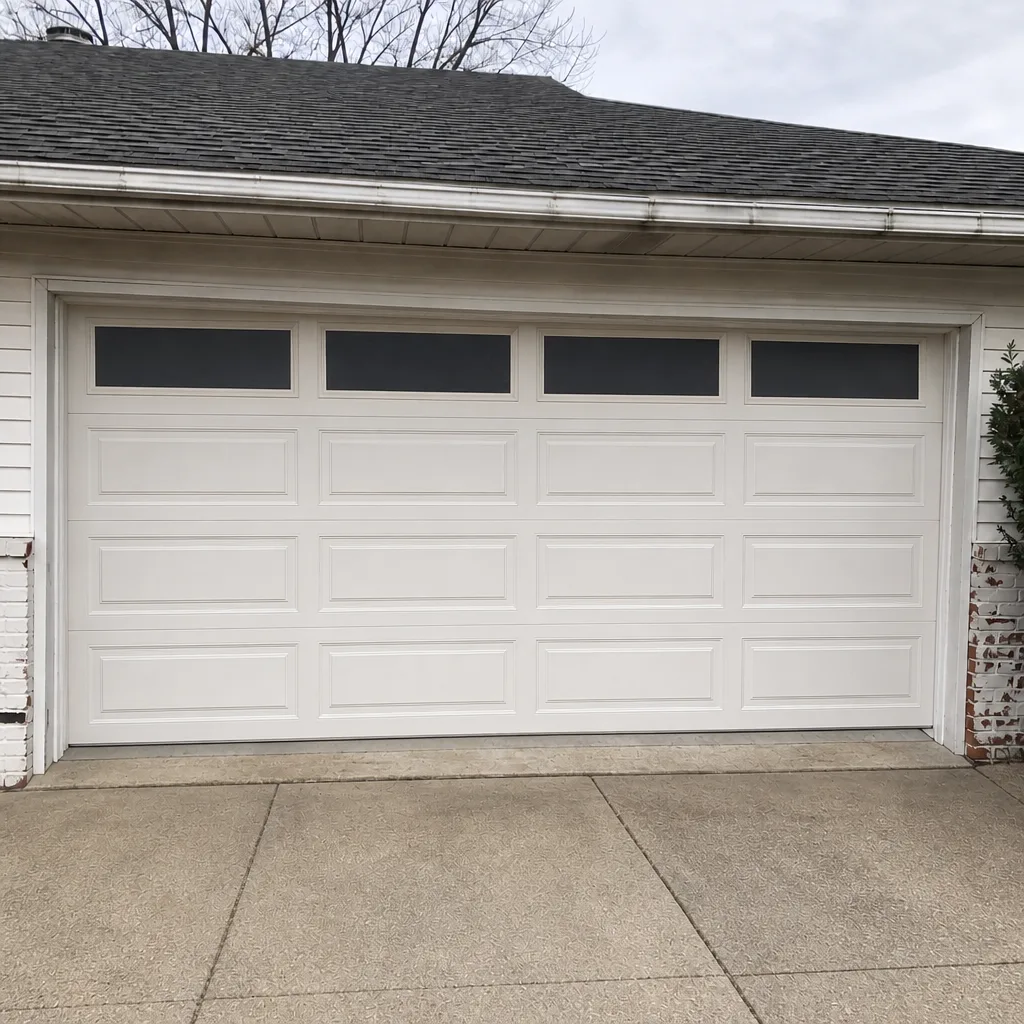 After
When to Call a Professional
Call if you see anything in Tier 1: a broken spring, a frayed cable, a door off its track, or a door that won’t stay up at mid-travel. Call if the door is stuck and your car is inside. Call if your opener is flashing a code you can’t read, or if the door is grinding through a cycle. Call if you’ve got a Tier 2 symptom and you’d rather fix it before it becomes an emergency. And call if your inspection turns up anything you’re not sure about, because a question costs nothing.
Garage Door Repair College Hill offers free estimates in College Hill. Call (866) 401-7447. We answer 24/7. Fast dispatch from 7am to 7pm, Sunday through Friday.
Frequently Asked Questions
A single spring replacement in College Hill typically costs $180 to $340, and a matched pair costs about twice that because the pair is usually replaced together. The written estimate we give you before any work starts is what sets the final price. Call (866) 401-7447 for an exact quote. Estimates are free.
Yes, same-day service is often possible for repair calls, including a broken spring or a door stuck in place. Call (866) 401-7447 and describe what you’re seeing. We answer 24/7, with fast dispatch from 7am to 7pm, Sunday through Friday. A call outside dispatch hours is booked into the next opening, Sunday through Friday, 7am to 7pm.
No. The price is quoted and agreed before any work starts, so the written estimate is what you’ll be billed. If the inspection turns up something extra, we tell you and you decide whether to add it. Call (866) 401-7447 for a free estimate and a written price before any work begins.
The local pros we connect you with are licensed and insured as Ohio requires, and they carry the training for spring and cable work specifically. Our technicians have up to 14 years of experience reading the symptoms on this page. Call (866) 401-7447 to talk through your door.
It depends on the noise. A squeaky hinge or a dry roller is often a lubrication fix, but grinding from inside the opener housing is a worn gear or bearing and needs a technician. Don’t force it, and don’t spray lubricant into the housing. Call (866) 401-7447 and describe the sound, and we’ll tell you which one it probably is.
Twice a year is a solid baseline, ideally before winter and again in spring when the seasons shift. The 60-second visual inspection on this page takes a minute, and it catches most of the Tier 1 signs. Keep a log on the garage wall and note anything that’s changed. If you’d like a trained eye to go through it with you, we offer free estimates in College Hill, and a call to (866) 401-7447 gets that scheduled.
The Bottom Line
Garage door warning signs aren’t all the same, and treating them that way is what gets homeowners into trouble in both directions. Sort what you see into three tiers. Tier 1 is a stop-now: frayed cable, a door off-track, a broken spring, a door that won’t stay up. Tier 2 is a fix this week: grinding, slow reversal, a floor gap, jerky travel, a loud start. Tier 3 is a watch-and-log: seal gaps, paint flaking, remote range. Run the 60-second visual scan twice a year, write down what you see, and don’t touch a spring or cable. If anything turns up, call (866) 401-7447. We answer 24/7, with fast dispatch from 7am to 7pm, Sunday through Friday.
Written by the team at Garage Door Repair College Hill.