
Last updated November 20, 2026
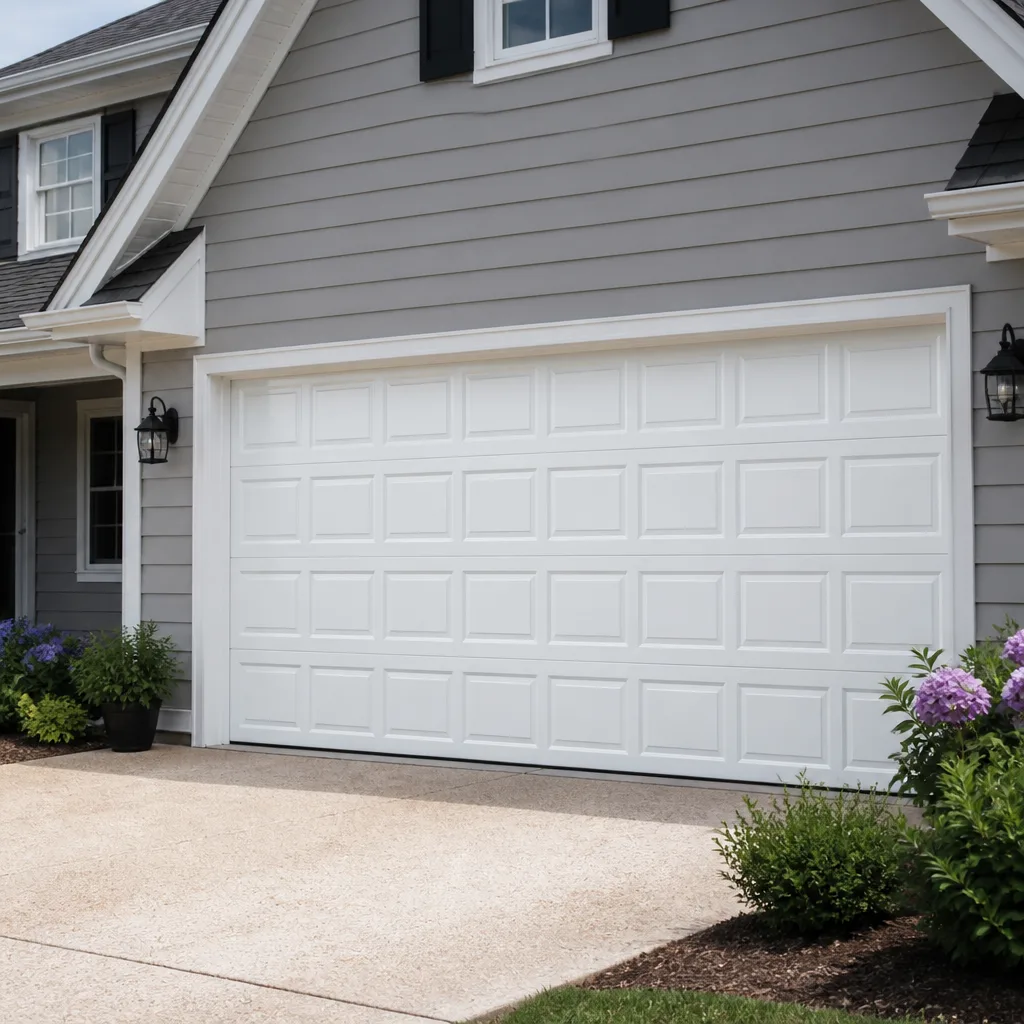 Raised-panel steel
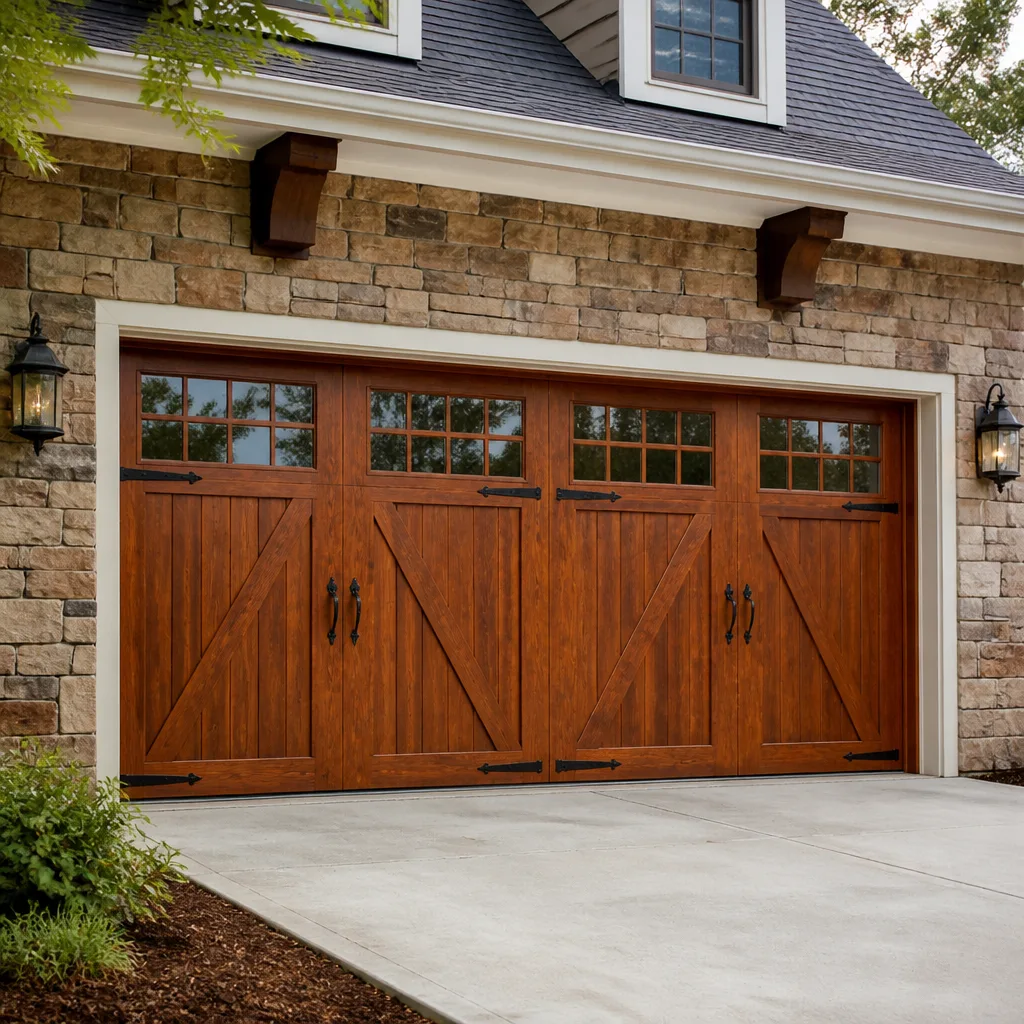 Carriage house
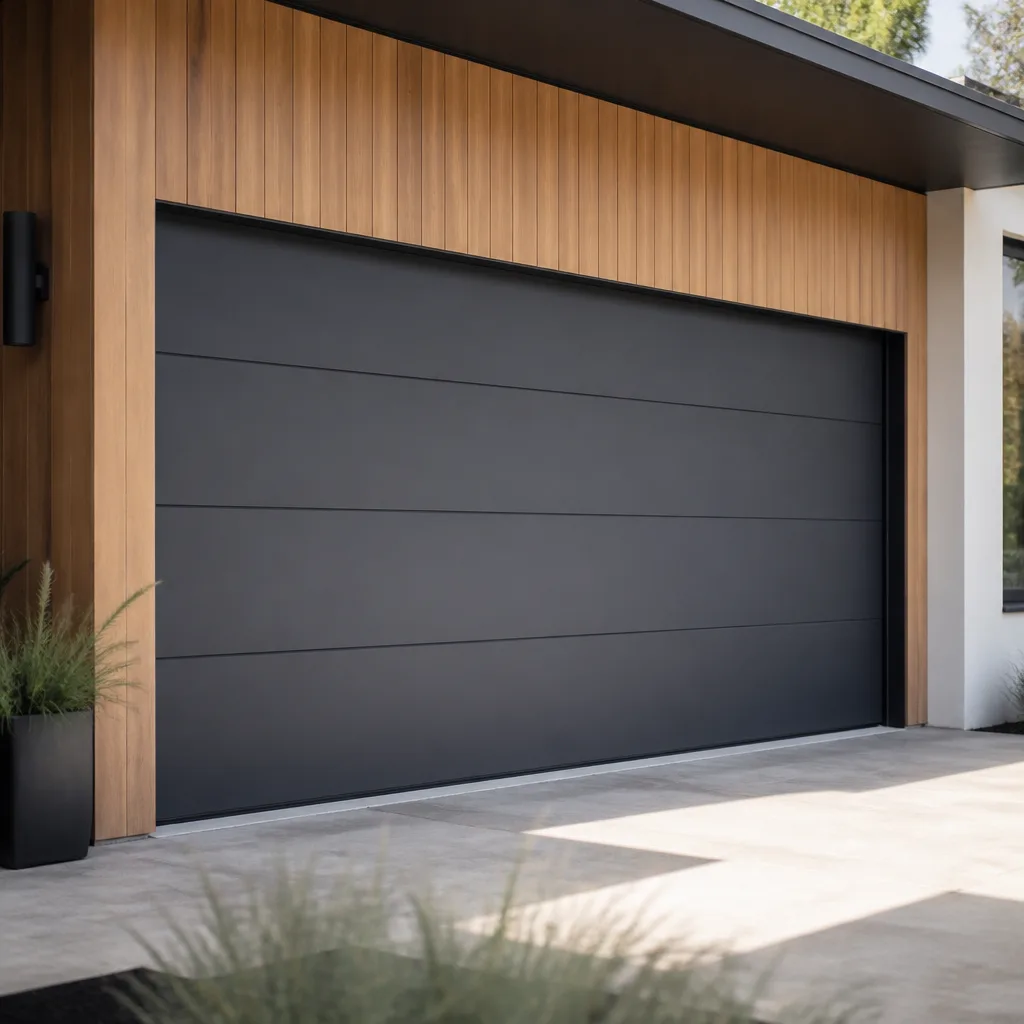 Modern flush
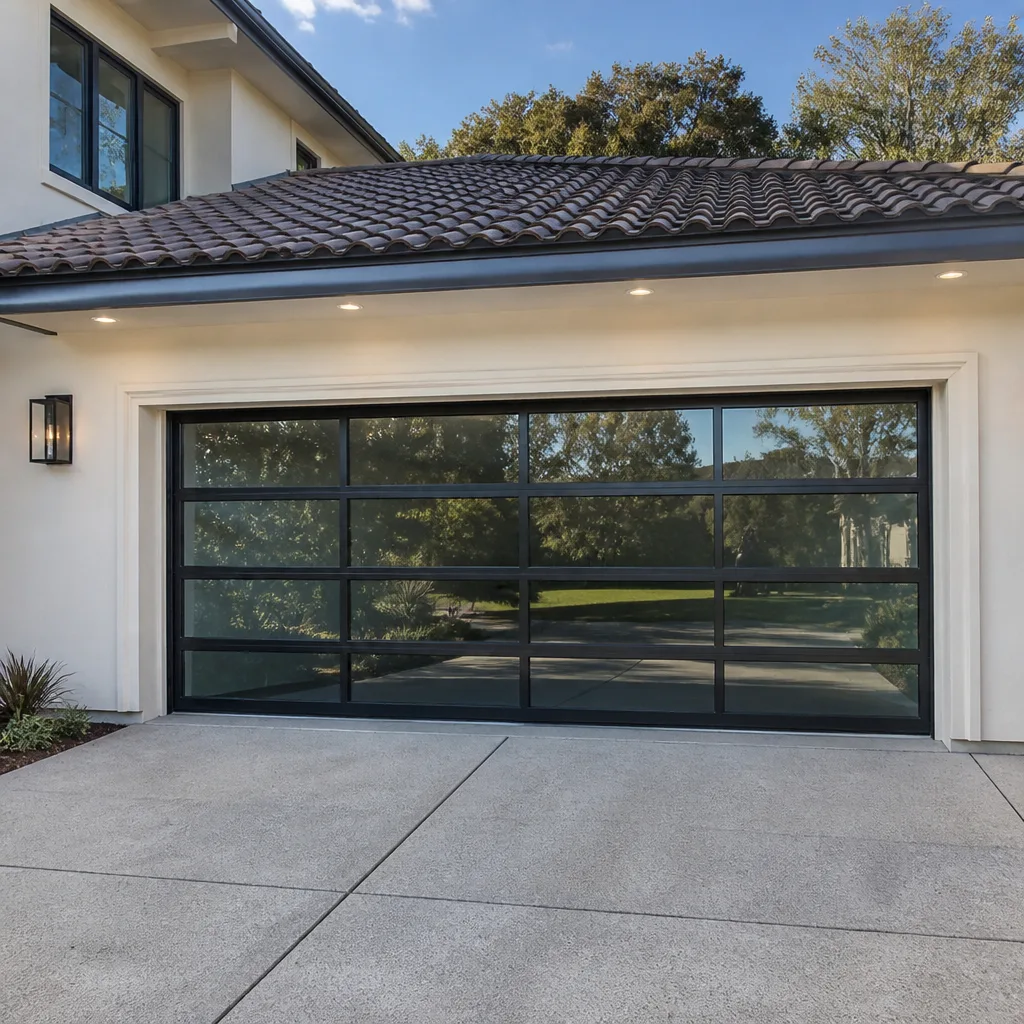 Full-view glass
 LiftMaster openers
 Chamberlain openers
Full 25-point door and opener safety check with every visit - springs, cables, rollers, tracks, and your LiftMaster or Chamberlain opener included
You get a price before we start. It does not change when the pro arrives.
Get your free estimateGarage Door Repair Maintenance Checklist for College Hill Homeowners
Most garage door maintenance advice online stops at one instruction: lubricate the springs. It never says which lubricant, how much, or what you’re supposed to feel for once you’re done. That gap is why so many College Hill doors keep groaning, drifting, and eating opener motors even after a homeowner has done their “maintenance.” A checklist is only useful if it gives you pass/fail criteria you can actually apply with your own hands. This guide does exactly that. We’ll walk through a monthly inspection, a balance test that most people never run, a lubrication spec that separates grease from spray, and a simple log that lets a technician triage your system faster. We’ll also cover the seasonal hardware drift that College Hill’s humidity and freeze-thaw swings produce on wood and steel doors. By the end you’ll know what you can check safely and where you should stop.
Quick Answer
A useful garage door maintenance checklist for College Hill homeowners covers five checks: a manual balance test to catch spring wear early, a hardware inspection of rollers, hinges, cables and the bottom seal, a lubrication pass with the right product on the right parts, seasonal adjustment for humidity and freeze-thaw, and a written log of findings so a technician can work from facts instead of guesses. Most of the routine checks take ten to fifteen minutes and require no tools beyond a broom handle. Any sign of a frayed cable, a door that drifts more than two inches at mid-travel, or a snapped spring should end your DIY inspection and start a call to a professional.
Styles & brands we work with
- Raised-panel steel
- Carriage house
- Modern flush
- Full-view glass
- LiftMaster openers
- Chamberlain openers
Table of Contents
- How Do You Run the Manual Balance Test?
- Hardware Inspection Sequence: Rollers, Hinges, Cables, Bottom Seal
- Lubrication Spec: What Gets Grease, What Gets Spray, What Gets Nothing
- Seasonal Adjustment Notes for College Hill’s Humidity and Freeze-Thaw
- Wood Doors vs. Steel Doors: How the Same Climate Hits Them Differently
- Opener Checks and Safety Reversal Testing
- How to Log Findings So a Technician Can Triage Faster
- Common Mistakes to Avoid
- When to Call a Professional
How Do You Run the Manual Balance Test?
You run the balance test by disconnecting the opener and walking the door to the halfway point by hand, then letting go. The door should hold roughly where you left it. If it drifts more than about two inches downward, the springs are no longer carrying their share of the door’s weight. That means the opener motor is lifting that extra weight on every cycle, and that load is what wears out motors prematurely. This test is one of the few diagnostic checks a homeowner can safely perform, and almost no checklist includes it.
The steps are the same whether the opener is a Genie, a LiftMaster, or an older belt-drive unit:
- Close the door fully and pull the emergency release cord to disconnect it from the opener carriage.
- Lift the door by hand to about waist height, then to the halfway point. The door should move smoothly without sudden heaviness.
- Hold it steady at mid-travel and let go. Watch how far it settles.
- Note the drift. Under two inches is within tolerance. Over two inches is spring wear.
- Push the door back up to full open and re-engage the release. If the door reconnects hard, that’s another wear signal.
Springs are the component carrying the door’s weight, and they’re also the most dangerous part of the whole system. If your balance test fails, the right next move is a properly sized spring replacement by someone with the training and the winding tools. Working on extension or torsion springs yourself is where serious injuries happen, so stop the DIY there. For College Hill homeowners, a balance test every few months is a reasonable cadence. This is also the point where scheduling a proper garage door repair visit beats waiting. Fixed the weight load faster, and you avoid replacing an opener motor that was never the problem.
Hardware Inspection Sequence: Rollers, Hinges, Cables, Bottom Seal
Walk your hardware inspection in a fixed order so you don’t forget anything and so your findings are easy to compare month to month. Start at the bottom of the door and work upward. Each component has specific wear indicators you can spot without special tools.
Rollers. Rollers run in the tracks on both sides of the door. A roller in good shape turns freely and sits snug in its track. Replace indicators:
- Flat spots or a visible groove worn into the face of the roller.
- Rollers that wobble in their stem or hang loose in the track.
- White or grey dust under the door where a damaged roller is grinding along the track.
- Nylon rollers that have cracked and started shedding material.
Hinges. The metal plates linking sections of the door. Look for a hinge plate that has elongated its screw holes or shows a rust line along the fold. A hinge that rattles when you push the door by hand is loose or worn.
Cables. This is where you stop and call. Cables carry the spring tension under the door, and a single wire of a multi-strand cable that has broken off and started to birdcage is enough reason to stop operating the door. Any fraying, kink, or rust line on a cable means a professional should look at it before you cycle the door again.
Bottom seal. The rubber strip on the bottom rail. A seal that has hardened, torn, or gaps at the corners lets weather and small pests under the door. You can usually swap a bottom seal yourself; the serious failures are in the moving metal parts.
Run this sequence once a month on a Clopay, Amarr, or Wayne Dalton door and you’ll be tuning into the same signals our technicians watch for. On a newer door, you probably won’t find anything for the first year or two. On a door that’s been through several College Hill winters, you’ll find one or two items now and then.
Lubrication Spec: What Gets Grease, What Gets Spray, What Gets Nothing
The old advice to “lubricate the springs” is right in spirit and wrong in specifics. Here’s what actually gets lubricated and with what product.
- Torsion springs and extension springs: a light coat of silicon-based garage door lubricant, not motor oil and not WD-40.
- Rollers (metal): a drop of lithium grease on the stem, no more. Excess grease attracts grit and wears the roller faster.
- Hinges: a light spray of garage door lubricant on the pivot points.
- Tracks: wipe them clean; don’t spray lubricant into the channel. Grease plus grit in a track pulls the door off-line.
- Opener chain or screw drive: a specific chain or screw lubricant, matched to the opener brand. A Genie screw-drive and a LiftMaster belt-drive want different treatment; don’t use the same product on both.
Parts you should never lubricate:
- The bottom weather seal. It’s rubber. Lubricant degrades it and gathers dirt that ends up on your driveway.
- Safety photo-eye lenses. Keep the pairs at the bottom corners of the opening clean and dry; grease smeared on those lives can cause false obstructions.
- Spring coils in freezing weather. If your springs are visibly caked with old grease, that grease thickens in the cold and won’t protect anything. Have a technician clean and re-lubricate them properly.
Do the lubrication pass after the inspection, not before. You want to feel the wear before you mask it with fresh grease. Do the work with the door closed and the opener disconnected; springs are still under tension when the door is closed, so keep your hands off the coils themselves. Apply the spray where the spring enters the winding cone, not across the whole spring.
Seasonal Adjustment Notes for College Hill’s Humidity and Freeze-Thaw
College Hill’s climate gives garage doors two different sets of problems depending on the season, and a checklist that ignores both will always be one step behind. The pattern is straightforward. Summer humidity swells wood sections and expands metal slightly. Then freeze-thaw in winter works the gaps open and closed over and over until screws loosen and seals thin out.
Here’s what to check at each seasonal pivot:
- Late spring (humidity coming on): check the tightness of every hinge screw and the top-of-door bracket. Check door section joints for binding where wood sections swell and start to rub.
- Late fall (freeze-thaw coming on): check the bottom seal for gaps and hardness. A seal that’s been in place through a few winters is already hard enough not to compress, and that lets cold air and water under the door.
- After any hard freeze: push the door by hand until it’s roughly a quarter of the way up. If it catches or grinds, track has shifted or a hinge has loosened. Don’t force it with the opener; that’s how opener gears strip.
- Mid-summer: rechecking the balance test is worth one minute, because springs that were fine in spring can start drifting once the door’s been cycling in hot weather.
Wood doors move most under humidity, and steel doors still move but in smaller, sharper ways. Section joints in a steel door will open up in a freeze, then close in the thaw; that’s where you’ll see the paint fail first and the rust follow. A steel Clopay or Amarr door needs an annual touch-up of the bottom edge just before the frost. A wood door needs a full inspection of its paint skin at the same time. Our technicians have up to 14 years of experience and cycle through these seasonal checks every day. They can spot the pattern in your door much faster if you’ve already written down what you found.
Wood Doors vs. Steel Doors: How the Same Climate Hits Them Differently
Two College Hill homes on the same block, one with a wood door and one with a steel door, will see entirely different maintenance lists from the same season. Knowing which camp your door is in tells you where to focus.
Wood doors (traditional carriage styles, and many older doors still standing in this part of the city) will swell and shrink with every humidity shift. The failure signature is a section that starts rubbing the section above it, paint failing on the bottom rail, and hardware screws loosening as the wood works in and out around them. Maintenance means paint, screws, and the bottom seal. A swelling section caught early is a careful sanding job; caught late, it’s a section replacement or a new door.
Steel doors behave oppositely. The frame barely moves, but paint on the bottom rail and around the hinges is thinner than people expect, and a chip there is rust in a few weeks. The failure signature is rust along the bottom edge, half-moon wear on the rollers, and hinges that go slack at their screws. Maintenance means rust touch-ups, roller replacement every few years, and adjusting the hinges so the door hangs square.
An insulated steel door and a lightweight aluminum door are both on the steel-side of this list, so plan your attention accordingly. Want to lower the maintenance burden? For a door that’s been re-repaired more than twice in a few seasons, it may be worth discussing a new door rather than another round of repair. The garage door installation conversation starts with a measure and a written quote; no faster service there, but you’ll get a firm number before any door is ordered.
Opener Checks and Safety Reversal Testing
Your opener deserves two checks on every inspection: the safety reversal test and a listen for mechanical noise. Both take under a minute. Both will save you a repair call later.
Safety reversal test:
- Open the door fully.
- Lay a small piece of 2×4 lumber flat on the floor in the middle of the opening.
- Close the door with the wall control.
- The door should reverse within a second of contacting the wood, before it presses down hard.
If the door doesn’t reverse, the opener’s force limit or travel limit is off. That’s not just a maintenance annoyance; it’s the main safety feature of the opener. A technician can reset travel limits on a Chamberlain or LiftMaster in minutes; don’t adjust them blindly.
Photo-eye test: block one of the two sensors at the bottom of the track with your hand while the door is closing. The door should stop and reverse. If it keeps going, the eyes need alignment or replacement.
Listen test: run the door open and closed and stand near the opener head. A steady low hum is fine. A grinding, ratcheting, or repeated clicking sound is not. On a screw-drive opener, that’s usually a worn gear; on a belt-drive, it can be a loose belt. Either way, garage door opener repair is faster than replacing the whole unit.
For the reading on the opener itself, check the manual or the brand plate on the opener head. The eight brands we see most in College Hill homes are LiftMaster, Chamberlain, Genie, Clopay, Amarr, Wayne Dalton, Craftsman, and Raynor. If yours is one of those, you don’t have to wonder if the technician can service it.
How to Log Findings So a Technician Can Triage Faster
A written log turns a repair call from a guessing game into a targeted visit. This is the single highest-value habit in this checklist, and almost no homeowner does it. Here’s what to put down.
- Date and door model.
- Balance test result. Which direction it drifted, and by how much (roughly: did it sag to the floor or hang in place?).
- Hardware findings. Any loose hinge screw, flat roller, torn seal, or stiff track marked by location (bottom-left hinge, third roller from top on the right track).
- Lubrication pass date and product used.
- Opener behavior. Any noise, slow cycle, or safety reversal failure, plus which opener and how long it’s been installed.
- Recent weather event if the issue started after one. “Started after the freeze in January” is a clue a technician can work from.
The log doesn’t have to be fancy; a single page in a notebook works. When you call us, read the relevant lines off. A technician can arrive with the right springs, rollers, or opener parts in hand instead of making a second trip. That saves you the second visit, and the diagnosis is more accurate too because we’re working from your history rather than a snapshot. If you’re unsure what belongs in the log, our Garage Door Repair College Hill page walks through the services we cover so you know what to ask about.
Common Mistakes to Avoid
- Lubricating the tracks. Grease in a track gathers grit and pulls the door off-line. Wipe the tracks clean instead.
- Using WD-40 on rollers or springs. It’s a solvent, not a lubricant, and it dries out the very parts you were trying to protect.
- Adjusting opener travel limits without checking the door first. If the door is binding, adding force just pushes a worn part harder until it fails.
- Running the door when a cable is frayed. A cable failure is the sharpest, most dangerous garage door failure there is. Stop and call.
- Ignoring the balance test. A door that drifts more than two inches is silently burning openter weight capacity every cycle.
- Skipping the seasonal inspection in late fall. College Hill’s freeze-thaw cycle opens gaps and loosens screws in a matter of weeks; that’s when bottom seal and hinge issues appear.
- Replacing a door that only needs a roller set and a tune-up. Most failing doors we see in College Hill need repair, not replacement. Get the written quote before you assume the worst.
See the difference
 Before
 After
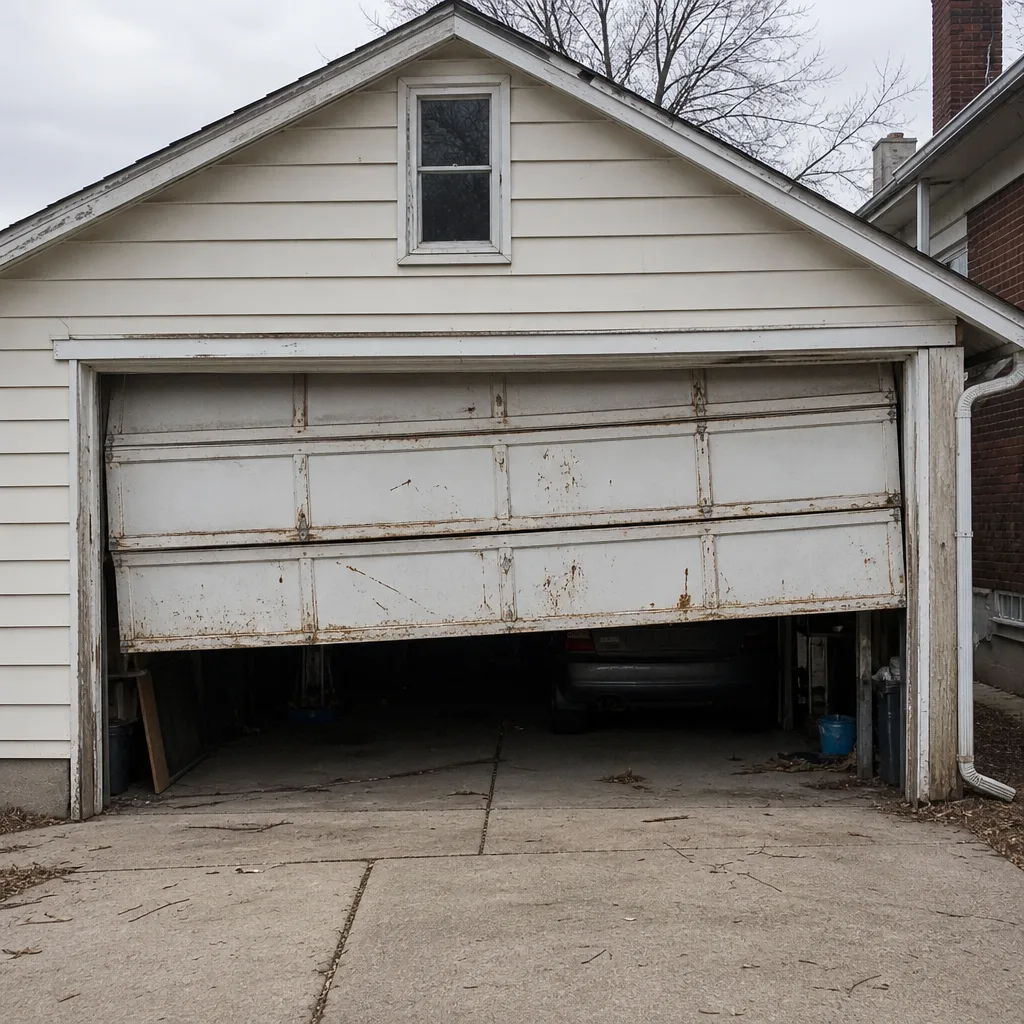 Before
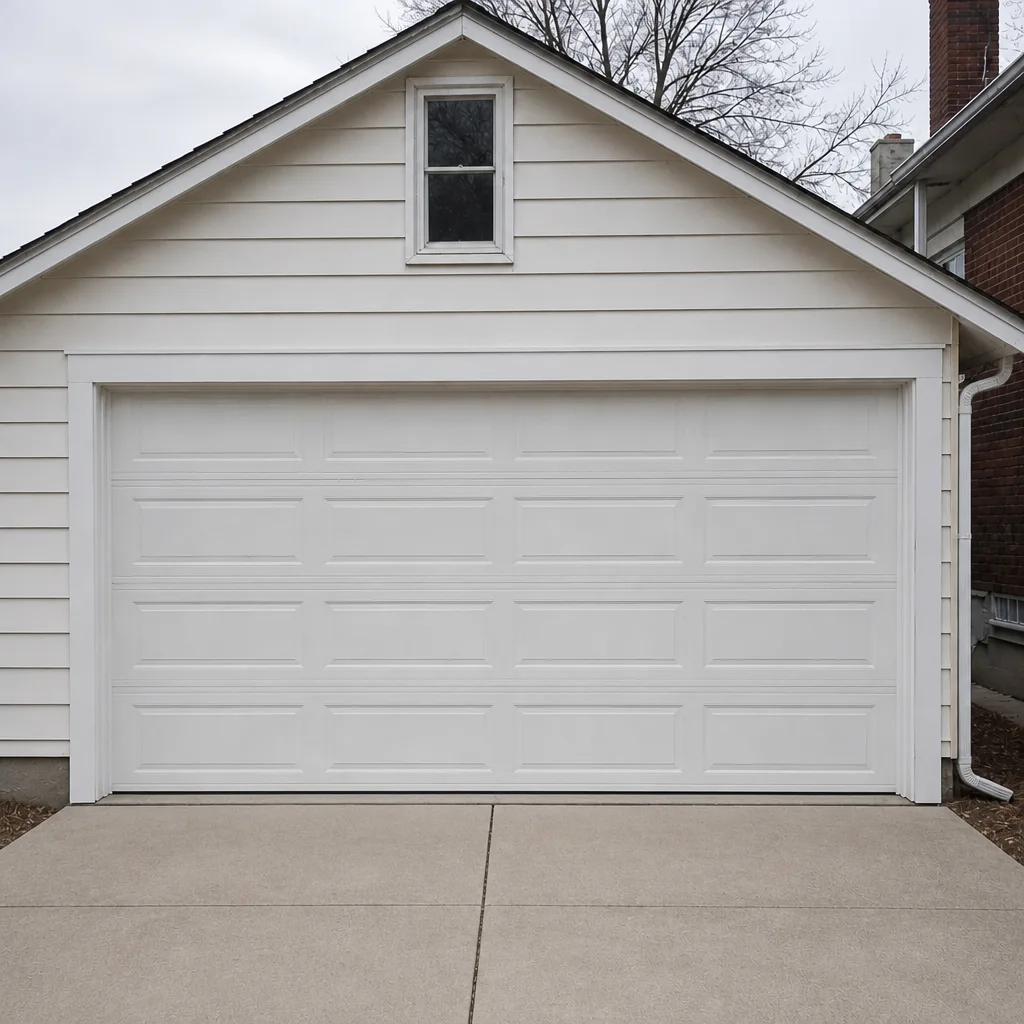 After
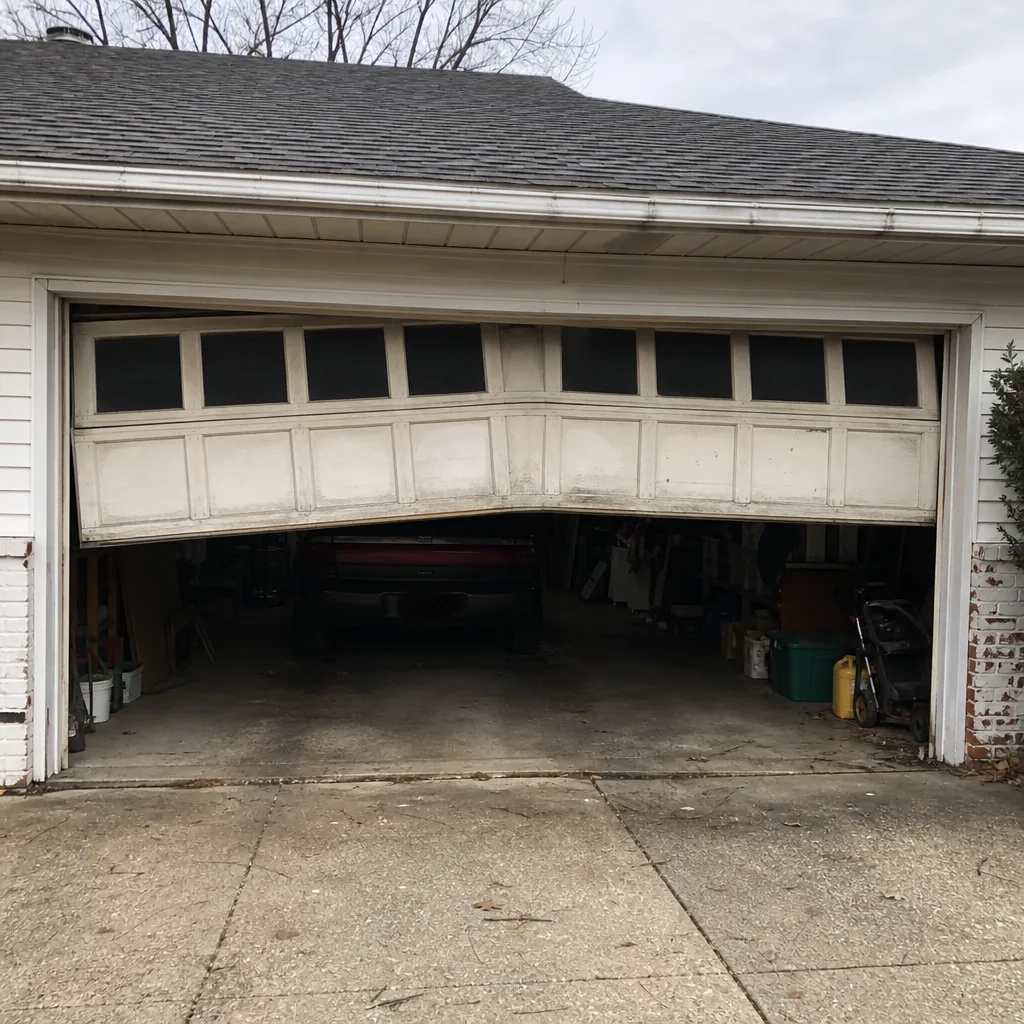 Before
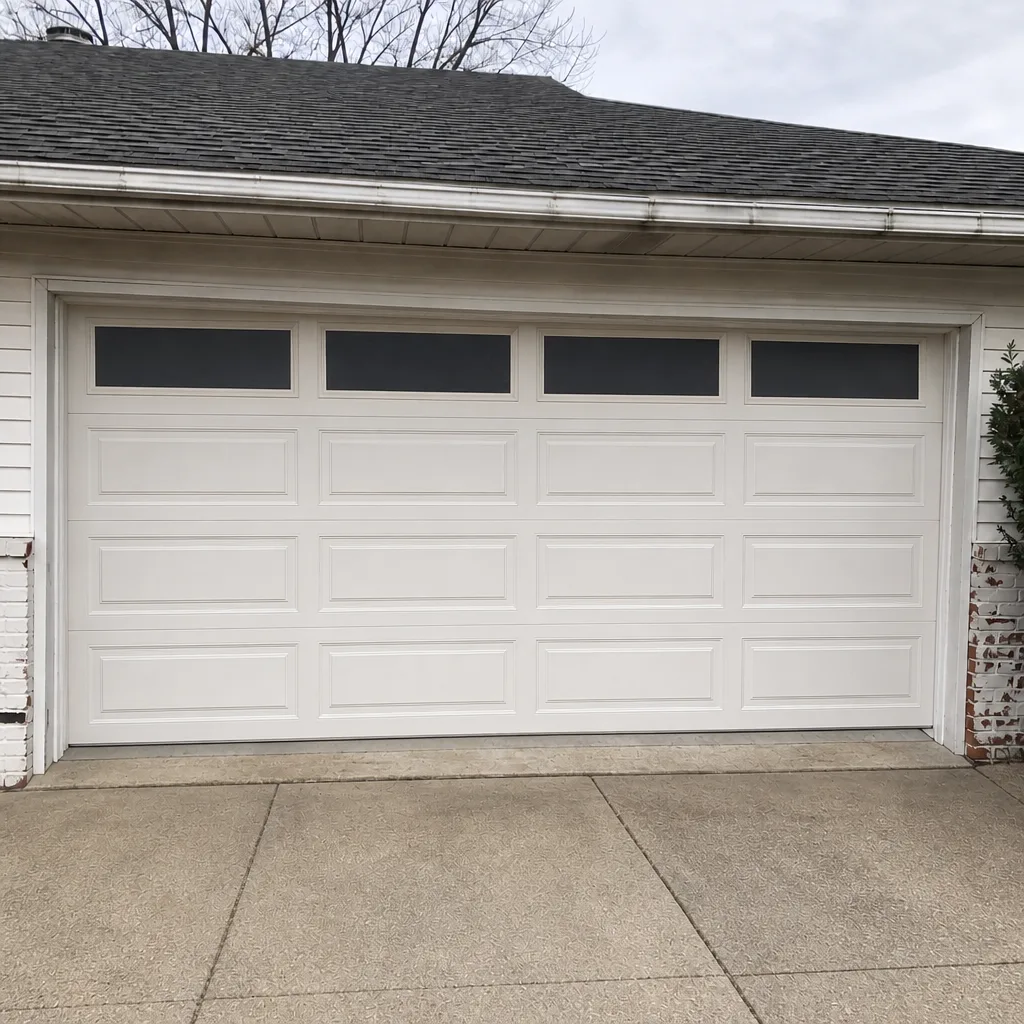 After
When to Call a Professional
Some garage door situations need your hands-on attention, and some should never touch your own. Call us for any of the following:
- A broken spring, a spring that sounds like a gunshot when it goes, or a door that drifts more than two inches in the balance test.
- Any frayed, kinked, or visibly rusting cable.
- A door that won’t close all the way, or that reverses at random.
- A safety reversal test the door fails.
- An opener that grinds, clicks rhythmically, or stops partway.
- A door off its track after a freeze, storm, or car contact.
Garage Door Repair College Hill offers free estimates in College Hill. The price is set per job by the written quote, so you’ll know the number before any work starts. Call (866) 401-7447. We answer 24/7. Fast dispatch from 7am to 7pm, Sunday through Friday. If you’re in College Hill and your door has been drifting, grinding, or groaning all season, call us and let’s get it working today.
Frequently Asked Questions
Do a full inspection once a month, plus a seasonal pass in late spring and late fall to catch humidity and freeze-thaw damage. The monthly pass takes about ten minutes once you know the sequence. The fall pass matters most here, because that’s when the freeze begins to work on the seals and hardware screws.
The balance test is the one check to run even if you do nothing else that month. Call (866) 401-7447 for a free estimate if you’d rather a trained hand handle the inspection.
You can safely spray garage-door lubricant on a closed door’s springs, working outward from the winding cone. But on any open or partially open door, do not touch the spring coils or the winding cones. That is where the stored tension is highest and where the serious injuries happen. If you’re unsure, stop and let a professional handle the springs. Call (866) 401-7447 to schedule a proper spring service visit; estimates are free.
It means the springs are no longer carrying the door’s weight, so the opener motor is lifting the difference on every cycle. Left alone, that extra load will burn out the opener over time. It also raises the risk of a spring failing outright. Call (866) 401-7447 to have a technician check the springs; estimates are free and the price is agreed before any work starts.
We work on LiftMaster, Chamberlain, Genie, Clopay, Amarr, Wayne Dalton, Craftsman, and Raynor. That covers most residential doors in College Hill and most openers, including smart and app-connected models. If you’re not sure which brand you have, look at the plate on the opener head or the door’s edge. Call (866) 401-7447 for a free estimate on whatever’s installed.
No. We quote the price and agree it with you before any work starts, and the written estimate sets the final price. If a technician finds a different problem than expected, you get a revised estimate to approve, never a surprise invoice. Call (866) 401-7447 to book a free estimate.
The local professional we connect you with is licensed and insured as Ohio requires, so you’re covered when work is done on your property. Ask for the credential card on arrival; a qualified technician will have it with them. Call (866) 401-7447 for a free estimate and to confirm scheduling.
The Bottom Line
Garage door maintenance is mostly a rhythm, not a repair. Walk the balance test monthly, run the hardware sequence in the same order every time, put the right product on the right part, and adjust in late fall before the freeze sets in. Keep the log on a single page. That alone will catch most of what fails on College Hill doors before it costs an opener motor. And when the balance test fails, a cable is frayed, or the safety reversal check doesn’t pass, stop and call. If you’d rather have a trained hand do the whole inspection in one visit, our team is ready. Garage Door Repair College Hill offers free estimates; call (866) 401-7447 to book one. We answer 24/7. Fast dispatch from 7am to 7pm, Sunday through Friday. For a full picture of what we cover, our garage door repair page and garage door installation page are the places to start.
Written by the team at Garage Door Repair College Hill.